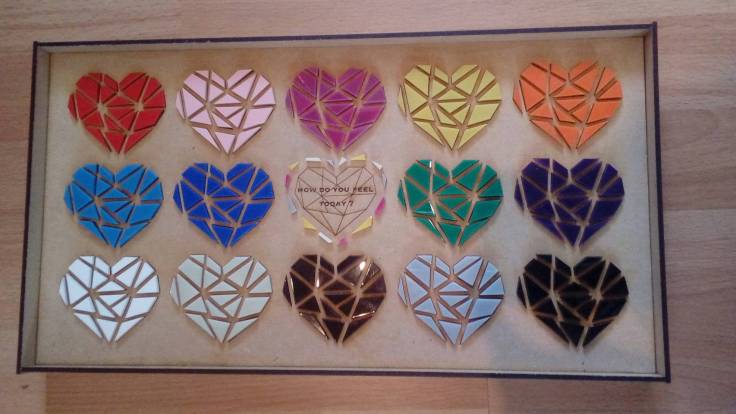
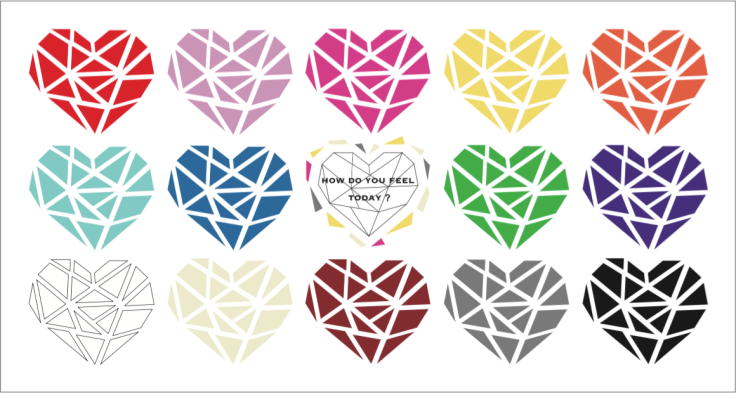
For the past 2 weeks, I have been taking a survey in order to know colours and patterns which are used to express people’s hidden emotions that they cannot express easily. I surveyed 11 people.
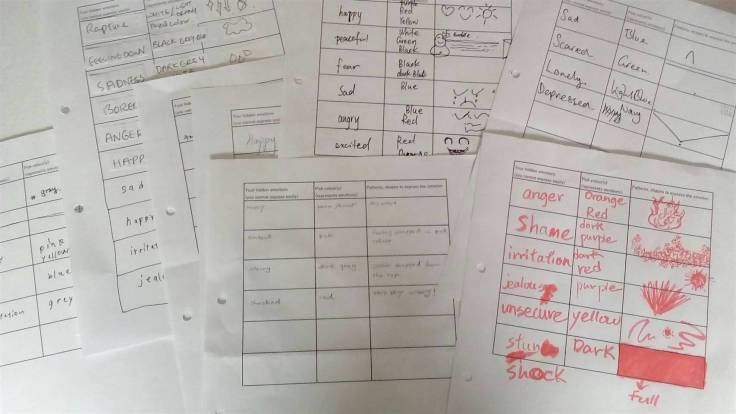
Answers about colours share much common ground.
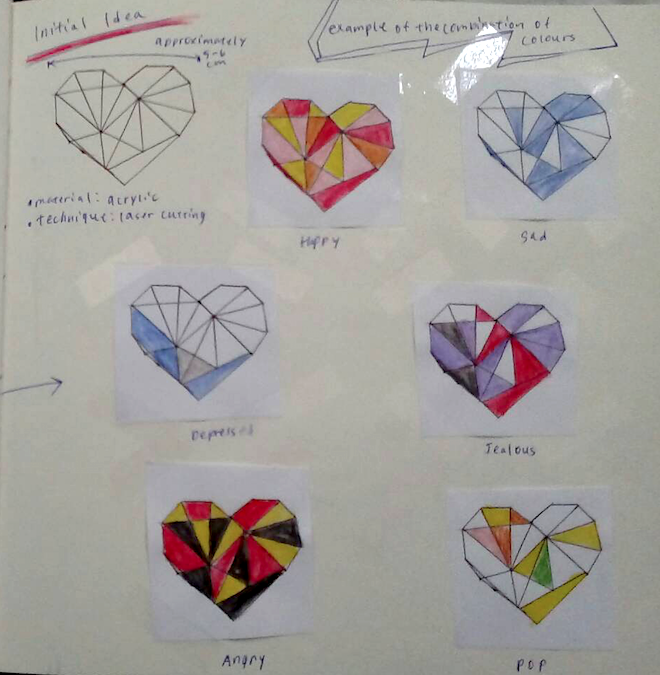
[Angry]
Colour — red, orange, blue, black and transparent
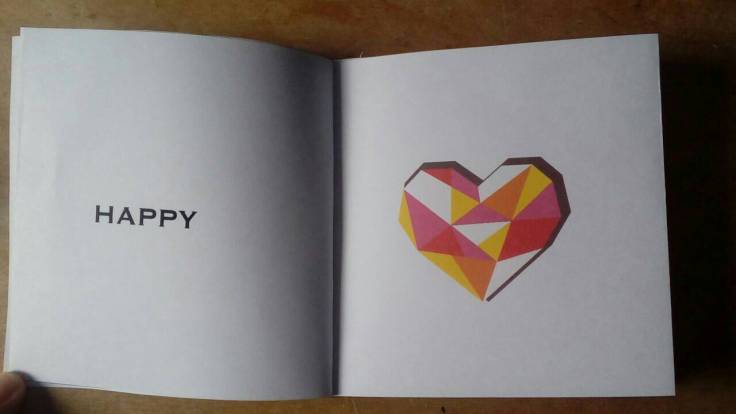
[Happy]
Colour — pink, red, yellow, lemon yellow, white, purple
[Sad]
Colour — blue, black
[Jealous]
Colour — purple, green
[Irritation]
Colours — dark red, gray
[Depressed, Feeling down]
Colours — black, gray blue, navy
[Scared]
Colours — green, black
[Excited]
Colours — orange,
[Shame]
Colour — dark purple
[Unsecure]
Colour — yellow
[Embarrassed]
Colour — red
[Anxious]
Colour — gray
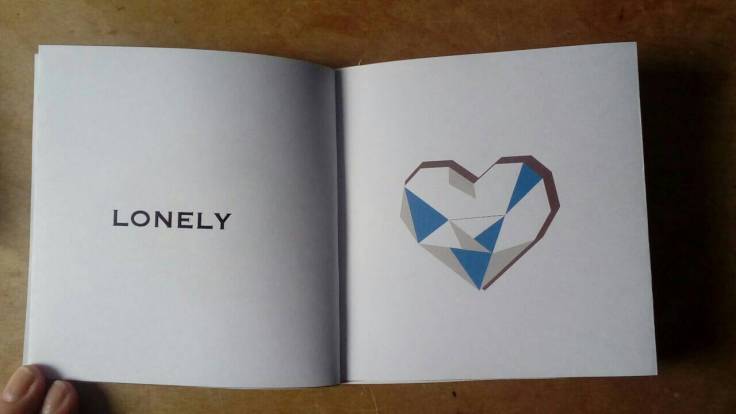
[Lonely]
Colour — light blue
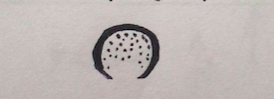
[Bored]
Colour — gray
Pattern— stripe
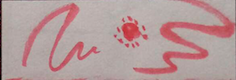
[Shocked]
Colour — red
Pattern— big wave
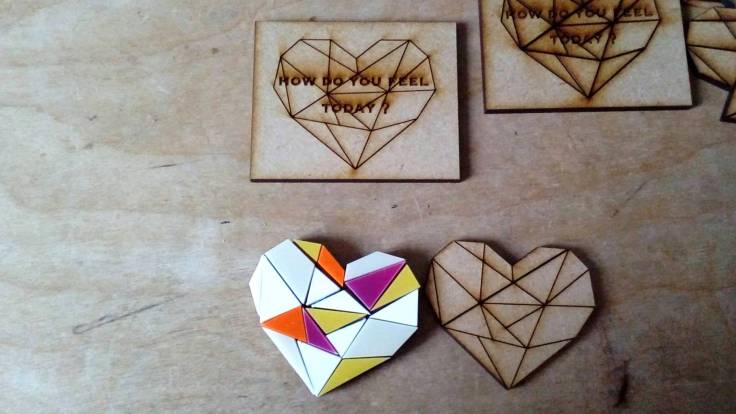
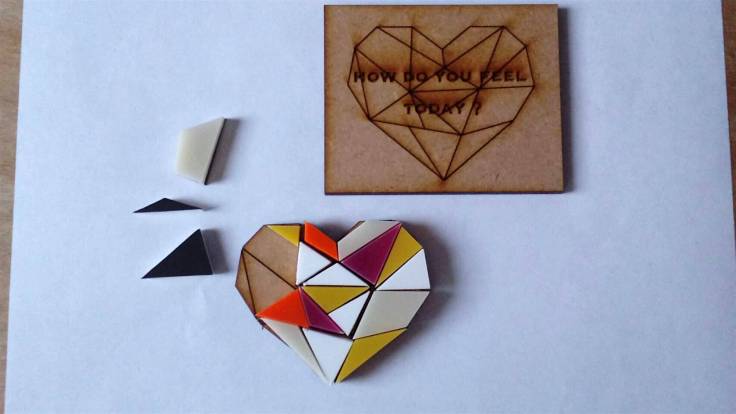
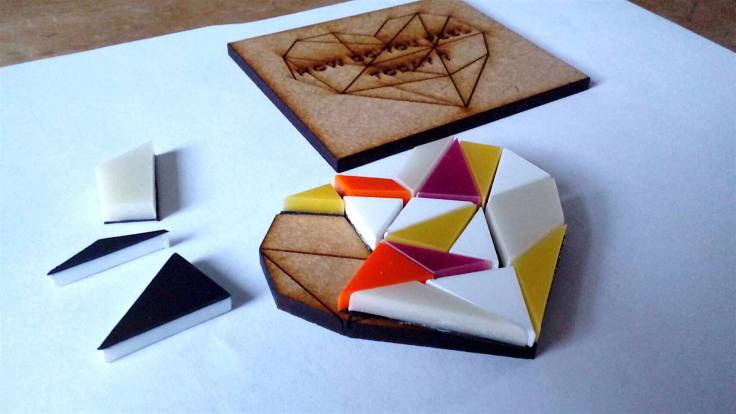
In conclusion, it is clear that each colour has associations with emotions. Although every single pattern is unique and has a distinctive style, I think the combination of colours and the layout of the place can represent emotions simple enough.